FLL
PROFESSIONAL DEVELOPMENT WORKSHOPS |
|
|
Wimba |
Initial Information:
- Wimba server technology allows us to produce Live Chats, Voice Postings, Voice Assessments, Oral presentaions
- Wimba provides a utility that creates web code that we paste into a page.
- Wimba will work with WebCT Vista when introduced in Fall 2005
- If you need help, click on the help button available on each page
- Run through the tutorial to learn/review how to make the different Wimba "tools"
- See the NCSU Wimba Users Group for examples and help
- You control access to your created objects
- You control audio quality
- You control whether or not you are contacted (via email) when users post
Wimba Task 1 - Login
- Get a Wimba account by emailing Scott
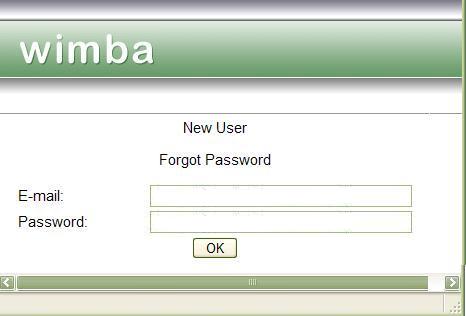
- Your email address will be your username (i.e. jhdespai@gw.ncsu.edu)
- Your email username will be your initial password (i.e. jhdespai)
- The Wimba Login URL is here: http://fltcvid.chass.ncsu.edu:8080/wimba/
- Browse to the Wimba Login page to login
- You send your students to the login page and direct them to click on "New User" in order to create their own account
Wimba Task 2 - Try Voice Direct (Chat)
- Use this component to create chat rooms for pairs of students, groups of students, an entire class, even open to the world
- Click here to try Voice Direct
Wimba Task 3 - Create a Voice Board (sample) / Voice Presentation
Students and instructors post their responses to questions, or make formal presentations in verbal rather than written form
- Click on "Communication"
- Click on "Voice Board and Voice Presentation"
- Click on "Administration of your ..."
- Click on "New"
- Name your Voice Board then click on "Create"
To adjust your settings ... - Click on "Board Info"
- For each page, make changes as needed then click
on "Next Page" until all settings are done
Wimba Task 4 - Add the Voice Board to Your Website
- From the main Page click on "Communication
- Click on "Communication"
- Click on "Voice Board and Voice Presentation"
- Click on "Administration of your ..."
- Click on the EDIT button of the Voice Board you want to edit
- Click on "Publish"
- Copy the code from the first box into a link on your page, opened in Contribute.
- Publish your web page through Contribute
- That's it!
Wimba Task 5 - Make more Wimba objects
- Go back to your office or go home and create more objects, using Help and this workshop as needed
